Creating the scarfs

After a lot of indecision I decided to go with 1/4" sides and a 1/2" bottom. Edensaw in Port Townsend had both in Okoume 1088 marine ply and I figured the additional venner thickness made sense if I was going to try for a bright finish (more on that later).
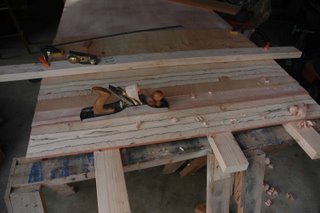
My sides and bottom needed to be 16' long but the longest plywood I was able to find was 10'. This meant an introduction to plywood scarfing. I looked around and saw that West Systems had a scarfing attachment for $50. Well, hell, I can save $50! So I decided to do the scarfs by hand. If time is money, this wasn't a good investment! I was doing 12:1 scarfs and on my 1/2" bottom, this equated to over 5" of joint x 2. Needless to say it look a while!
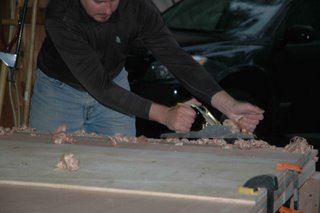
I started using a power sander but couldn't deal with all the dust. Eventually I found that using a sharp plane was way more efficient and less dusty and went reasonably quickly. In terms of technique, I was helped a ton by this overview of Plywood Scarfing, using scrap pieces of plywood to create reference angles.


At the end of the process, and after glueing the panels, it turned out I had a bit of a raised "ridge" right on the scarf - I must not have planed it down enough. I'd been planning a bright finish, but this on top of various other considerations has made me change my mind. I'll plane down the ridge some and fare it out later on with epoxy to make the sides nice and flat. The decision to abandon the bright finish is actually a relief - no more being paranoid about marking the sides and matching filet colors! Next boat, once I've got some experience, I can do the bright finish...
A word of caution. When gluing the scarfs one lays plastic on the work surface to prevent the panel from sticking to the table. Be careful not to let the plastic get sucked up into the joint. This happened on my bottom planel and I only realized after everything had cured. I was able to pull it out and inject more epoxy - because it was only a small bit of plastic I think the joint will be ok.
A note on the plywood: the Okoume is a dream to work with. With sharp hand tools, this stuff cuts really nicely and looks great.


0 Comments:
Post a Comment
<< Home