Glassing the sides
This weekend I started on the Beavertail's side panels. My neighbor, Bob, has built several boats and was kind enough to help me out with my first attempt at fiberglassing - it was great to have some help this first time round!
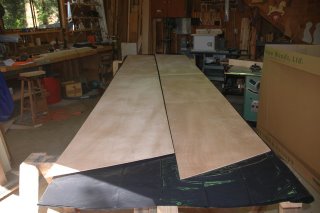

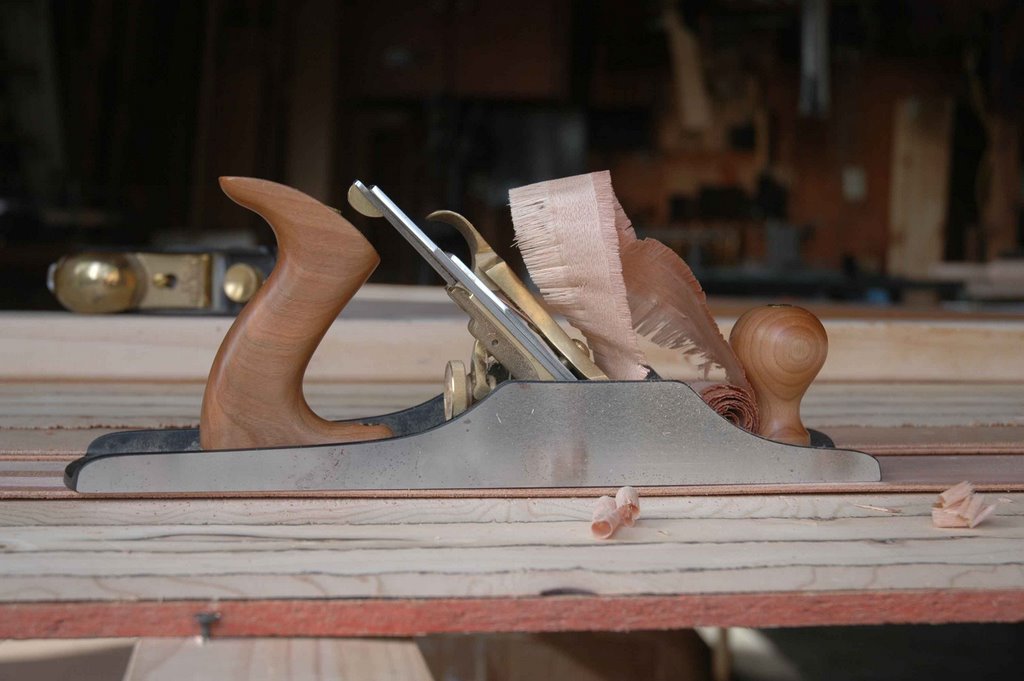
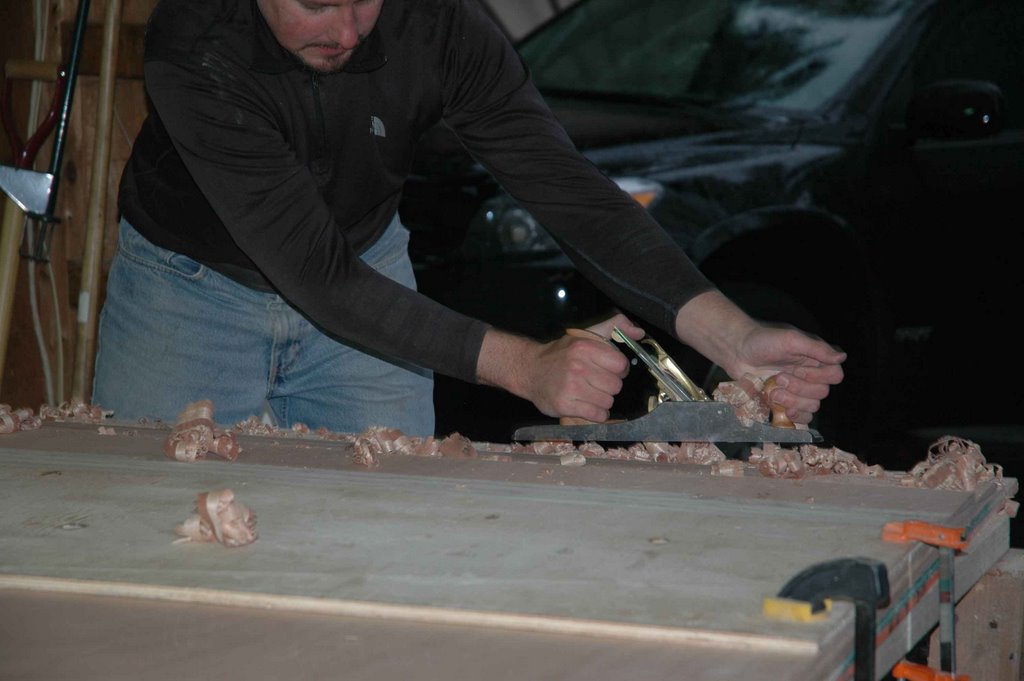
Earlier in the week I'd cut out the sides and cleaned up the scarf joints, but like I mentioned earlier there was a raised ridge right over both side scarfs. I planed them down to get them relatively flat and then we mixed up a bit of epoxy with phenolic added to spread over the joint and smooth it out - that landed up working out pretty well. At this point it was a case of pre-cutting the fabric and starting with the epoxy. We did it in approximately 2 or 3" sections and it worked really well. I'd been a bit concerned about starting in the morning when the temps were still kinda low (high 50s?). As expected, there was some gassing out and bubble formation but these were easily solved by squeegeeing across the bubbles as they formed (I was doing this for a long time, though, so it's not a hands-off approach).
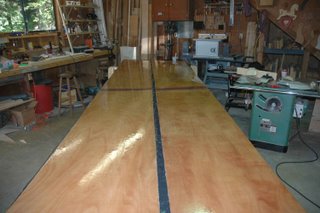
Once both panels were covered, I quit for the day. Sunday morning I had to sand a few bubbles down and then started on the first flow coat. I was surprised at how bubbles were still forming at this time - again, though, temperatures were far from ideal. I'm going to have to do some more sanding before doing the next coat. It was also interesting how difficult it was to get an even coating - I have some areas that are pretty smooth while others still show the weave. At this point I'm not too concerned though as I've got several more coats to get it nice and even.
Unfortunately this will all have to wait a while as other committments put boat building on hold for the next few weeks.
posted by kevin at 8:16 AM
0 comments
![]()