Monday, July 31, 2006

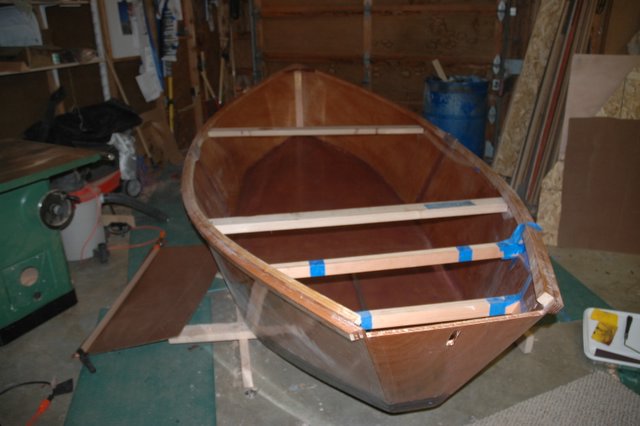
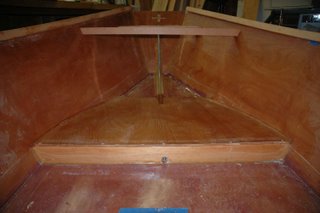
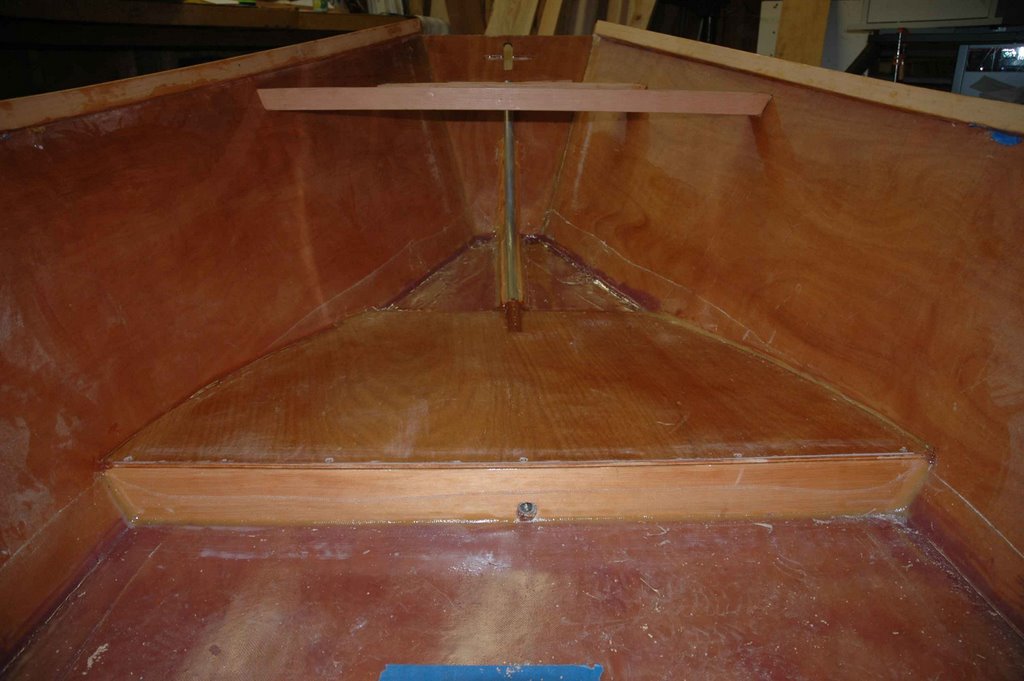
Rear Deck and Locker

No rocket science in this process. I cut the deck roughly to size and then planed it down to fit. The bottom is made of sign-painter's external grade plywood - I couldn't bear to spend the money on more mahogany that was going to be covered by paint! The fir plywood has a tendency to check if not glassed, so I glassed both sides before instaling. On one corner the bottom was about 3/4" too narrow which left a gap between the bottom and the side - this I filled with a bunch of thickened epoxy when filleting the joint.


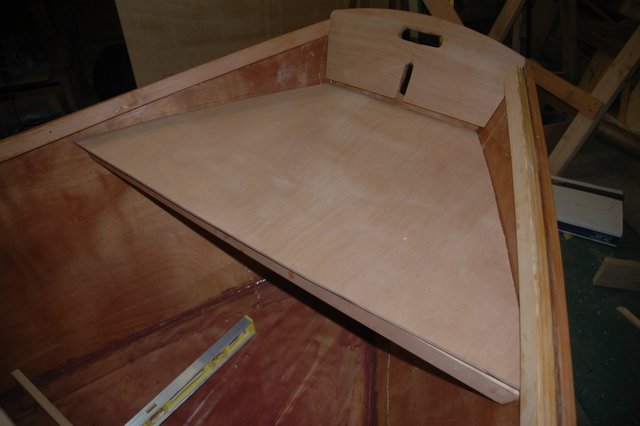
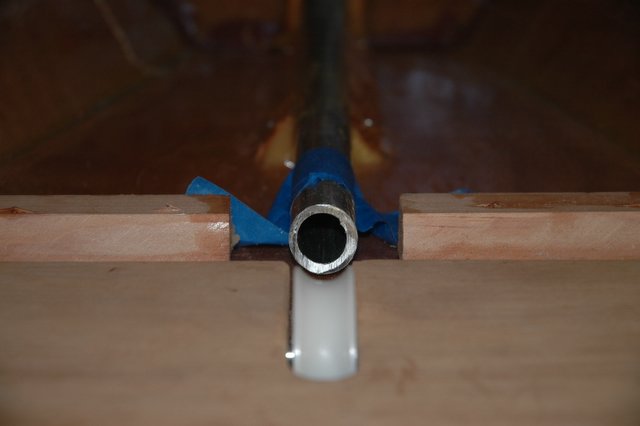
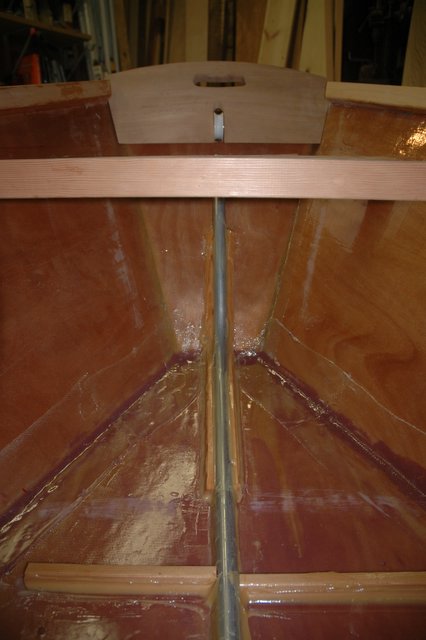
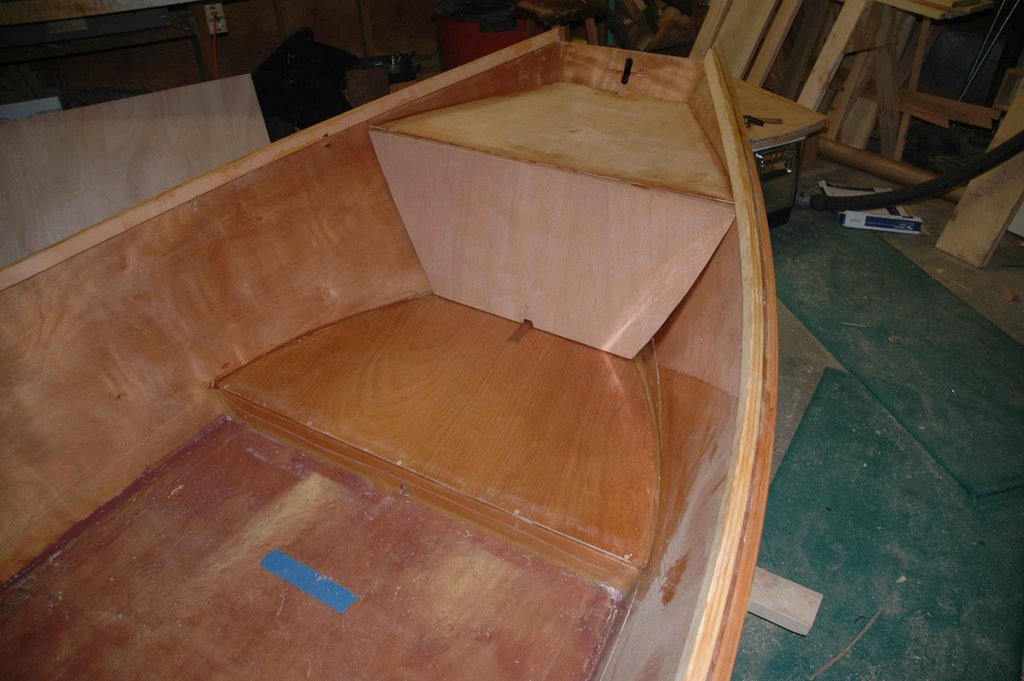
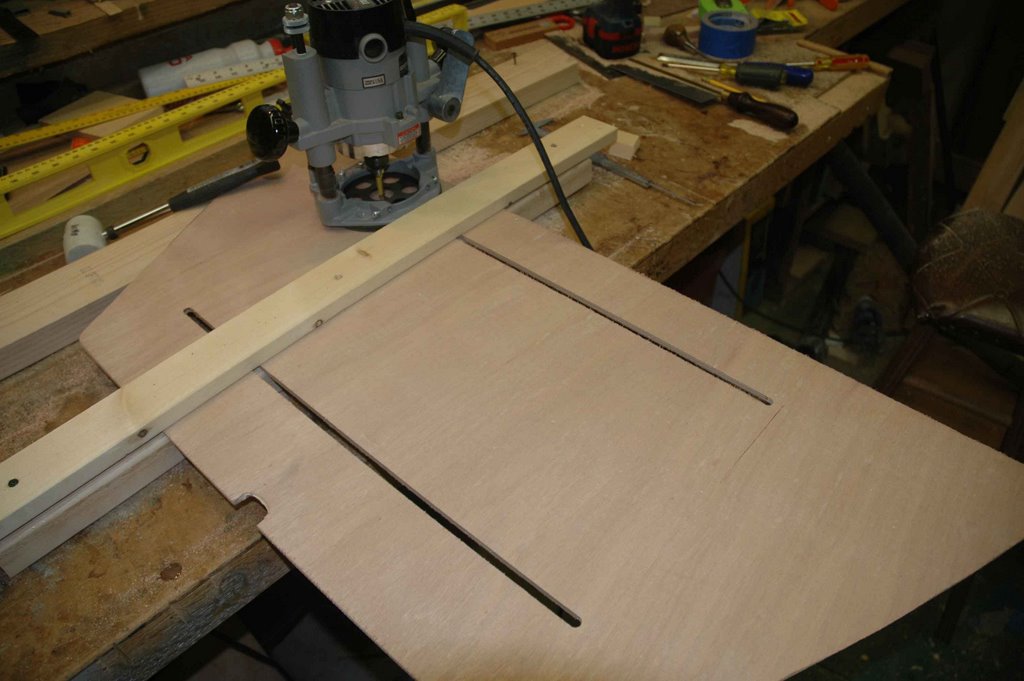
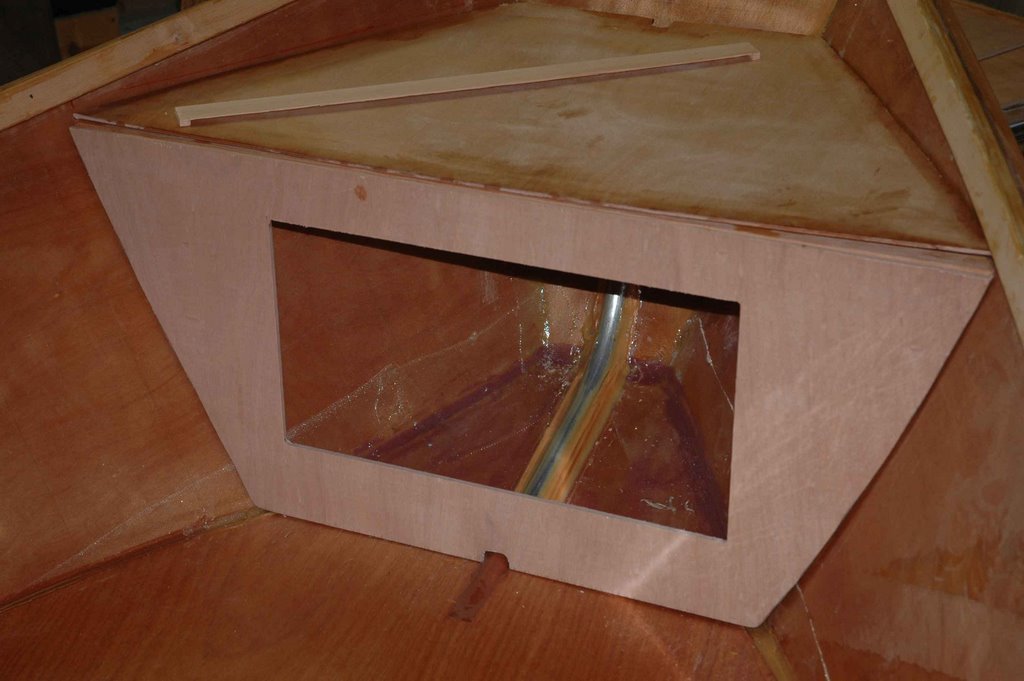
For the locker front, I used cardboard to cut out a template first and found that this made cutting the real piece a lot easier. I started out cutting a solid piece, notched for the anchor tube, and then cutting out the hatch opening later. The hatch is going to have a raised lip around the opening and then a wooden hatch cover sized to fit over the lip. The only potential issue I can see is the hatch not staying on. I will probably rig a bungy cord to hold things from the inside.


Wednesday, July 19, 2006

Rear Seat, Deck, and Achor Tube

The rear seat is going to be a rope seat mounted on top of a regular bench-type seat top. At first I'll probably just leave the rope seat out until I have to time add it in the future. Below the rear seat will be a locker providing dry storage.

The first step in building the seat was to mark out the 2 seat supports. I decided to mount the seat pretty high so the front of the supports mount just below the gunnels. The supports were mounted with epoxy and a few supporting screws.
Cutting out the seat bench was a royal pain. It took lots of tweaking with a hand plane before I had it close to done. The little gaps that remain will become the victims of epoxy and a decent fillet!
 
Having got the supports mounted and the seat cut, I started on the rear deck. The boat slants sharply forward right below the rear seat so I'm creating a 4" high level deck which will cover up the anchor tube and provide the rear fisherman with a decent casting platform. To support the deck I cut out and epoxied 3 cross supports cut out to accept the anchor tube.
 
 
The anchor tube was made from 1" aluminum tubing with a 1/8" wall and 3/4" ID. Bending it was a bit of a pain but I managed to get it done.

I epoxied the anchor tube in place, bracing it in a few places with some strips of wood. I don't think it's going anywhere soon...
 

Anchor pulley and rear seat

I decided to go the cheap and simple route with the anchor pulley. I started by countersinking a stainless steel axle into the transom. I had to make sure the slot to accept the axle wasn't too deep as all of the force from the anchor will be pulling directly back. The transom will have a bang plate on the outside which will help.


I cut a slot in the plate I created earlier. I'm not going to epoxy the plate onto the transom just in case I have pulley issues down the road. I plan on bolting the plate in place and plugging the holes - that way I can always remove the anchor pulley if need be.
 
The pulley is just a simple Delrin sheave that I got from Fisheries Supply in Seattle.
 

Monday, July 10, 2006

Transom Work

Earlier in the process, I'd had some issues with transom dimensions (turns out someone else using the same plans had the same issue...hmmm). What I decided to do was add a custom plate that would be part form and part function.

I created an arced curve using the router table and then fit the plate to the transom.


Having done that I cut the hole in the transom for the anchor pulley and countersunk the pulley axle.


Then I cut a corresponding hole in the plate. I cut this longer so that the anchor line will run straight up from the anchor tube to the pulley.

 
  Posted by Picasa