Gunnels
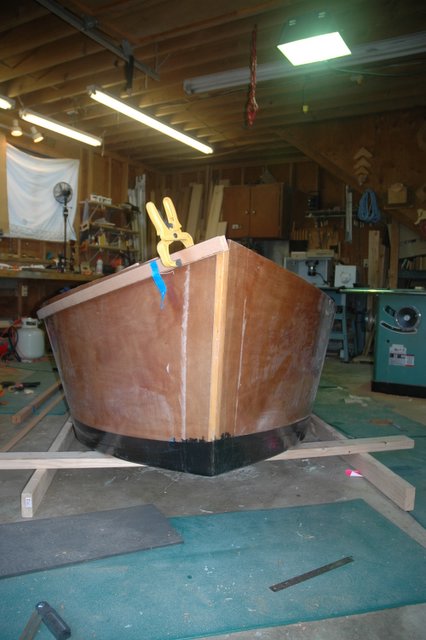
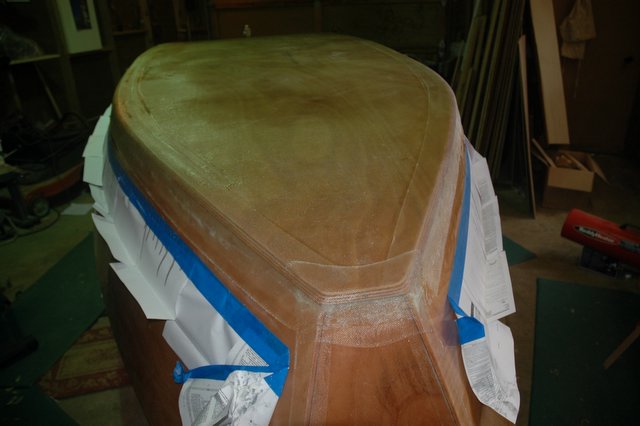
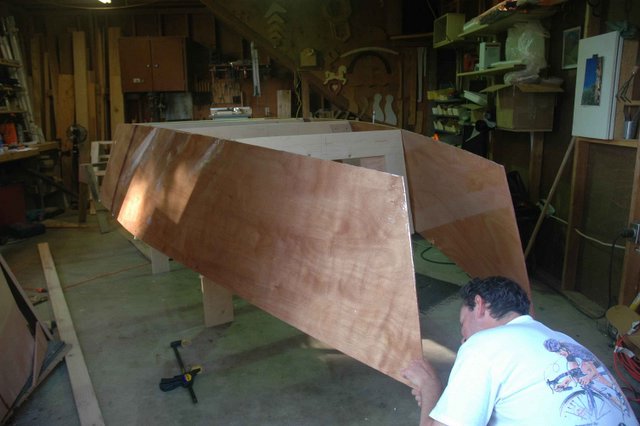
Having flipped the boat, progress has been slow. This is the time I've been looking forward to but as it turns out it's been a time of frustration! I spent the better part of a day trying to get the breastplate to fit. Initially I'd wanted to cut it exactly to fit the weird cutout in the stem. 5 hours later I gave up on that idea and figured that I'd just fill the gap with colored epoxy. I think it'll land up looking ok.
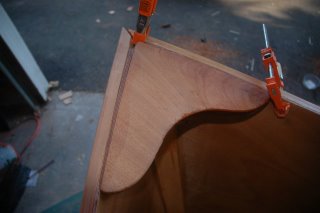

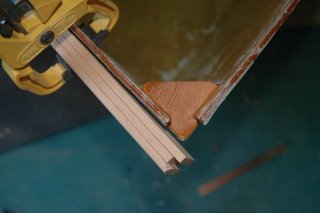
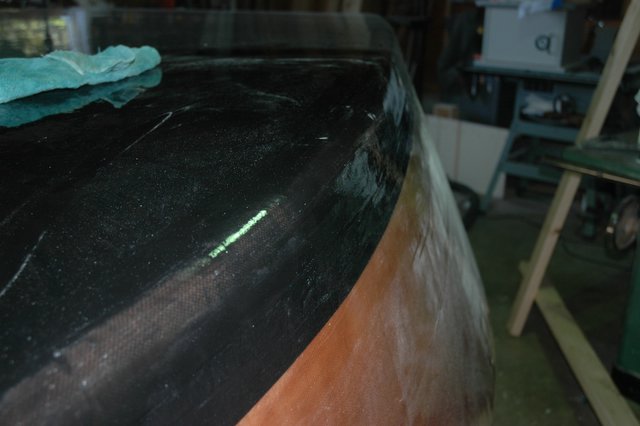
Getting the gunnels to meet correctly at the bow has also been a challenge - these compound angles are killing me! I spent several hours yesterday cutting, planing and sanding until I had the joint pretty close. Unfortunately, once I'd finished epoxying the gunnels to the side, I realized that the laminations had slipped fractionally, opening up the gap I'd spent so long trying to close! At this point, it's going to be wood filler all the way.

You learn a lot about yourself building a boat. I'd been going for perfection and slowly that's been eroded by a case of getting it done. If I went any other way I'd never get this boat in the water.
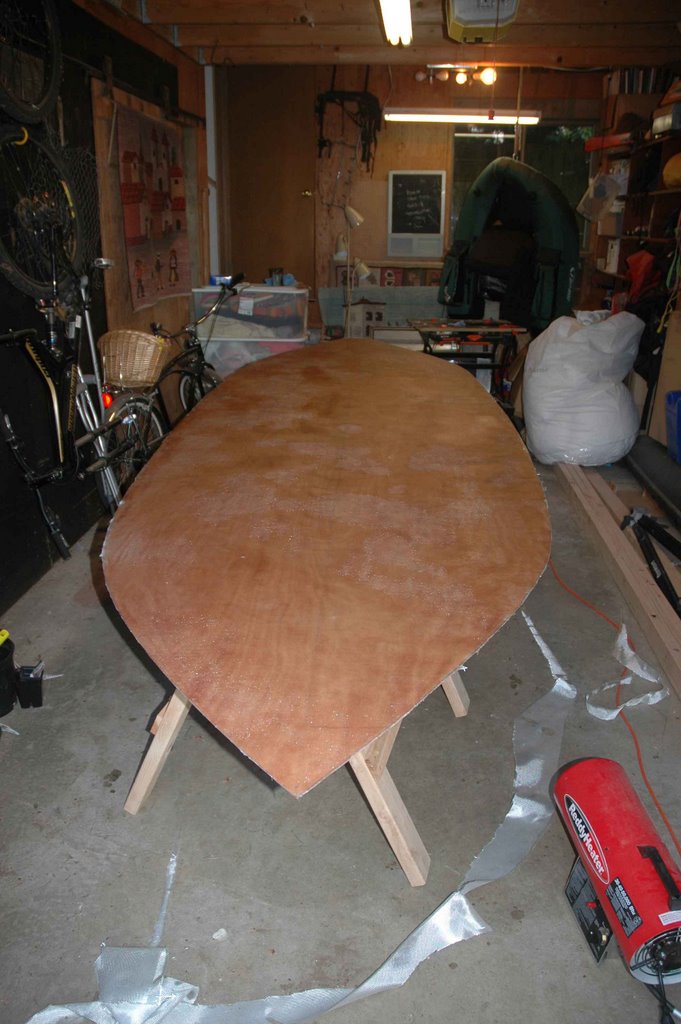
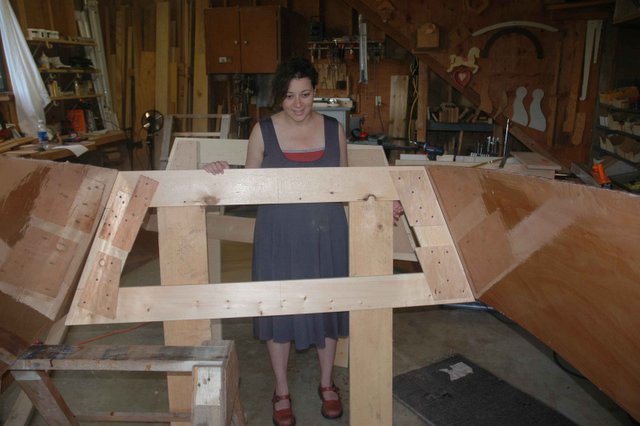
I decided to laminate my gunnels from VG fir ripped to just over 1/4". 3 of these strips will be used for the in and outwales and will hopefully result in a nice looking gunwale.


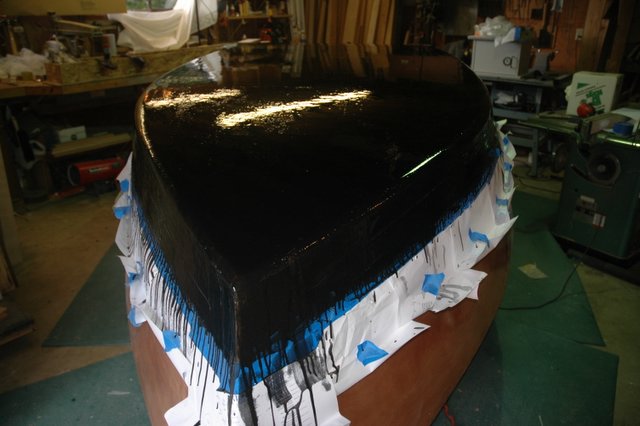
Epoxying the laminated strips for the gunnels was a royal mess! I masked off the sides so I shouldn't have too many issues with runs on the boat. When clamping the gunnels, though, a ton of epoxy was squeezed out of the joints. Hopefully I didn't clamp it too tight and squeeze it all out. I'm a little nervous about the strength of this gunnel and I may land up putting a bunch of screws into the whole thing for peace of mind.
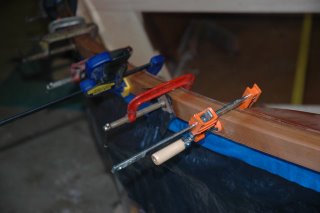
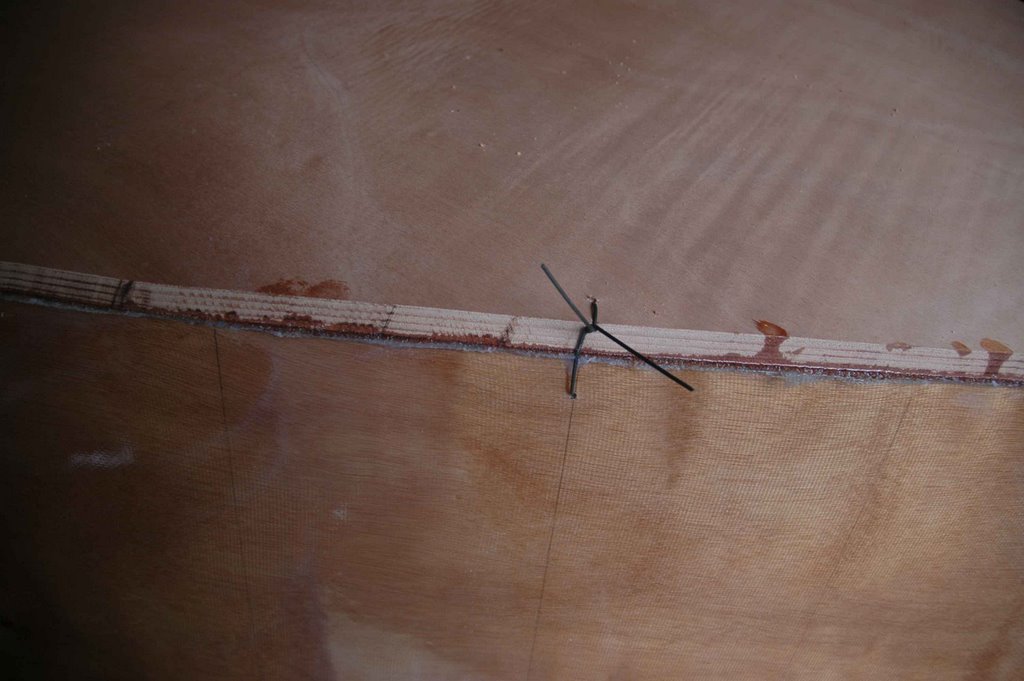
LOTS of clamps were necessary to do the lamination!


Getting the gunnels to meet correctly at the bow has also been a challenge - these compound angles are killing me! I spent several hours yesterday cutting, planing and sanding until I had the joint pretty close. Unfortunately, once I'd finished epoxying the gunnels to the side, I realized that the laminations had slipped fractionally, opening up the gap I'd spent so long trying to close! At this point, it's going to be wood filler all the way.
You learn a lot about yourself building a boat. I'd been going for perfection and slowly that's been eroded by a case of getting it done. If I went any other way I'd never get this boat in the water.
I decided to laminate my gunnels from VG fir ripped to just over 1/4". 3 of these strips will be used for the in and outwales and will hopefully result in a nice looking gunwale.
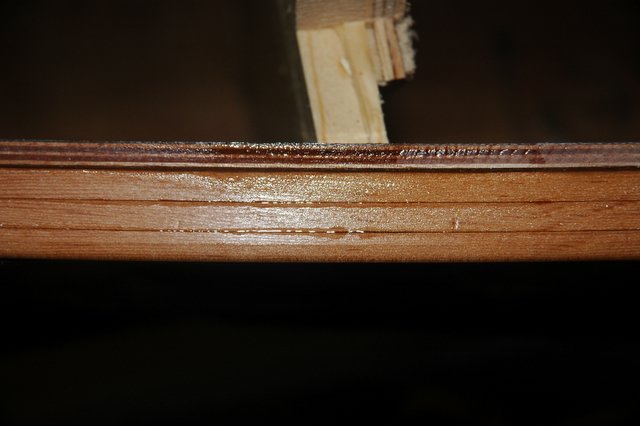
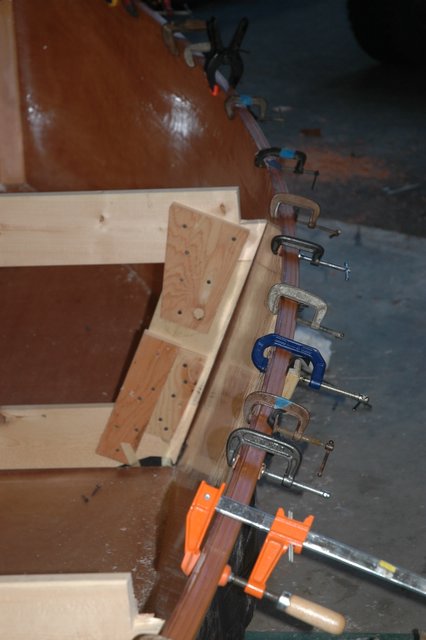
Epoxying the laminated strips for the gunnels was a royal mess! I masked off the sides so I shouldn't have too many issues with runs on the boat. When clamping the gunnels, though, a ton of epoxy was squeezed out of the joints. Hopefully I didn't clamp it too tight and squeeze it all out. I'm a little nervous about the strength of this gunnel and I may land up putting a bunch of screws into the whole thing for peace of mind.

LOTS of clamps were necessary to do the lamination!
posted by kevin at 7:39 AM
1 comments
![]()


